Over the last couple of months I have been intermittently playing with code and with the embroidery machine, and there are a few things I’ve learned.
Here’s a blow-by-blow account of creating an embroidered image from a photo:

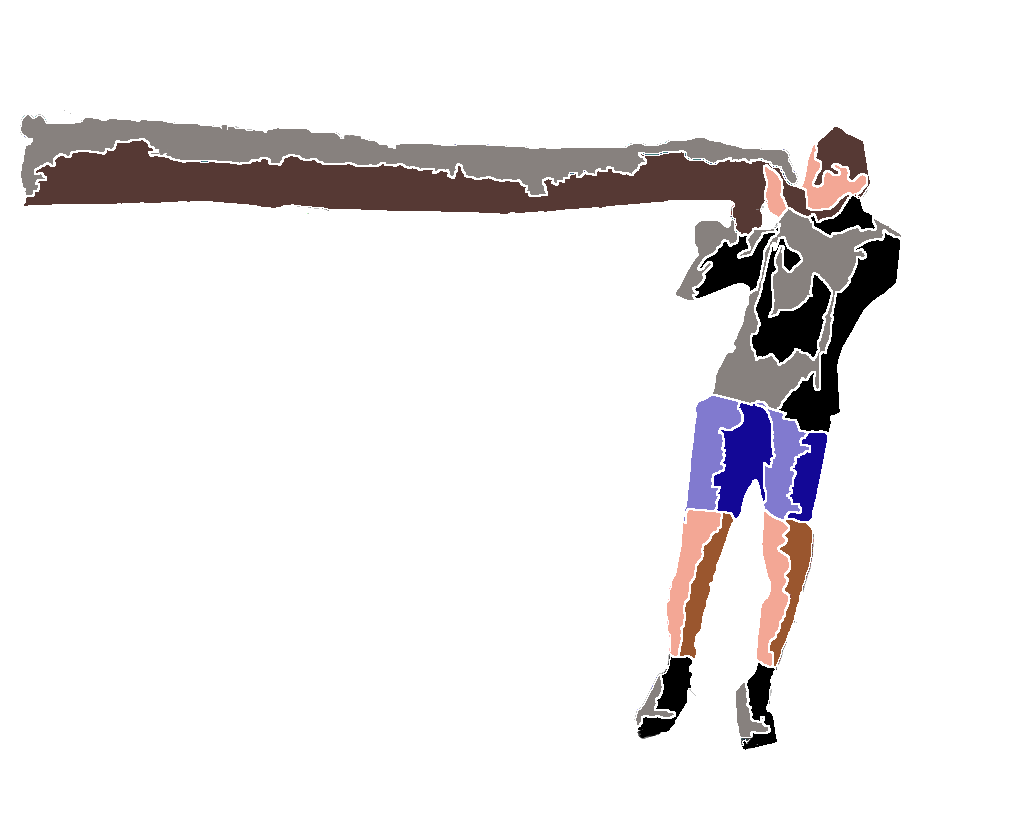
First I cut out the image I was interested in using GIMP, and then blurred it to reduce the amount of detail. With my blurred image, I then ran Watershed to segment it into coloured blocks or regions. This gave me something like this:

This original attempt at a pattern was – with hindsight – too complex. However I didn’t know that at the time so I went straight to embroidery, and imported it into Inkscape, used Ink/stitch to create a pattern, then tried to sew it on the machine. Thread jams ensued. The interaction between an idea and the execution is not that easy when you need it to work with thread.
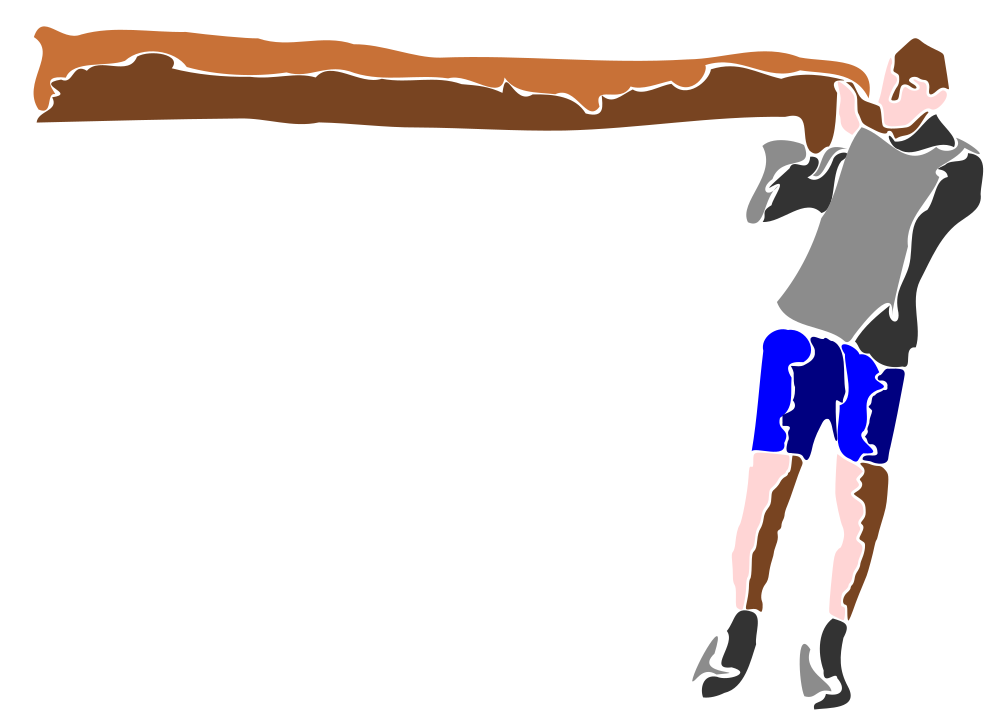
Next step – try to remove any overlapping blocks. SO back to the GIMP and I applied morphological operations (select then shrink selection a few times) to ensure there were no overlapping regions or indeed regions too close to each other. My design now looks like this:
This still wasn’t quite right when it came to sewing. I got a jam again, with this one, and actually had a person in the makerspace with me so can show a video here illustrating how to unjam the machine.
So, back again to the drawing board again. This time the task was to simplify and to remove more overlapping blocks. I went for Inkscape’s simplify path option, and then hand-edited the paths in Inkscape to fiddle with control points and make sure there really were no overlapping sections.
One of the things that the Ink/stitch plugin gives you is the option to simulate the stitch pattern, so I gave that a go. Here is a video showing where the machine’s going to stitch and what order the sections are going to be in.
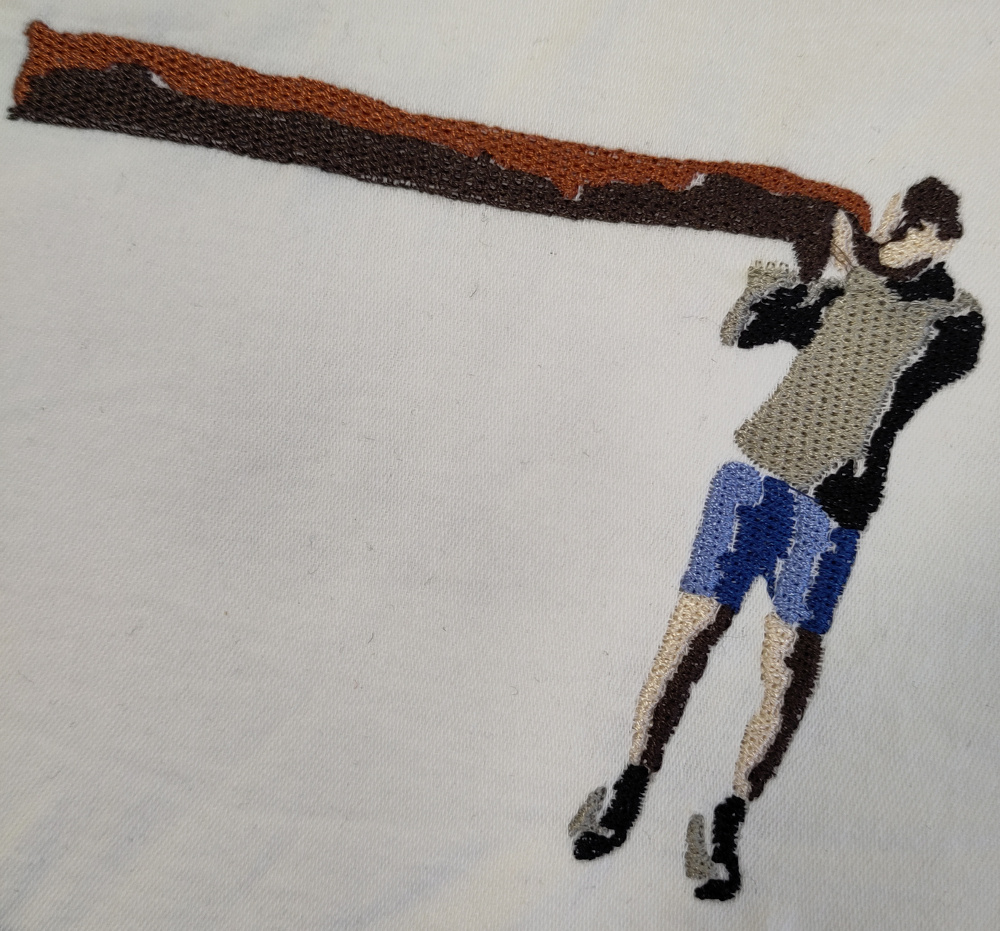
And finally, having watched the preview to check there were no overlapping sections, I managed to get the machine to sew it.